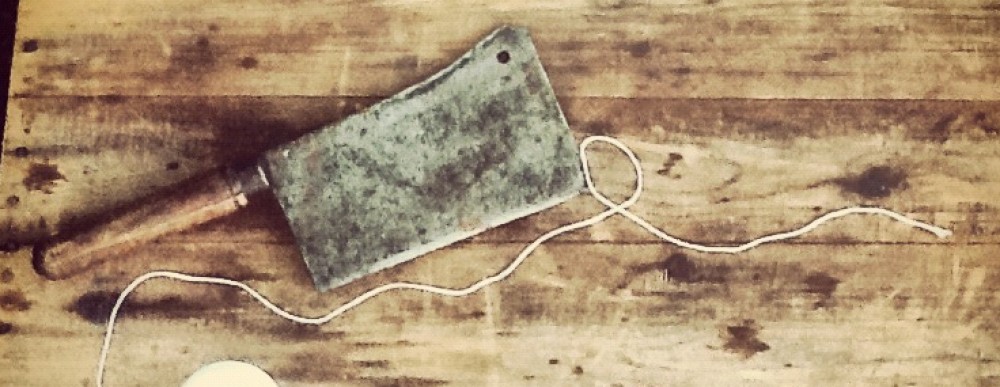
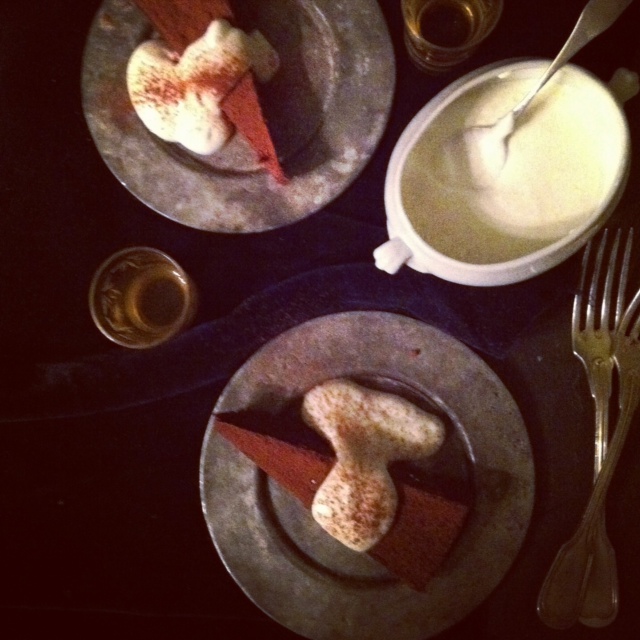
 When we think of love the following icons come to mind: flowers, pink, red, Cupid and…. let’s not forget, Chocolate! For this Valentine’s day I offer you Chocolate Truffle Cake. Flour-less, part cake, part truffle, it is the easiest cake ever! The hardest part is to get it out of the pan! This cake has been part of my go-to dessert repetoire for 20 years and is always a great success, especially with the chocoholics in my life. It came from the Maida Heatter’s Best Dessert Book Ever and the recipe is said to come from the famous Hotel de Crillon in Paris. It is so rich it can easily serve 12 to 16 guests. Served with a soft whipped cream infused with your favorite liqueur it will be the perfect ending for that romantic dinner come Valentine’s day.
CHOCOLATE TRUFFLE CAKE
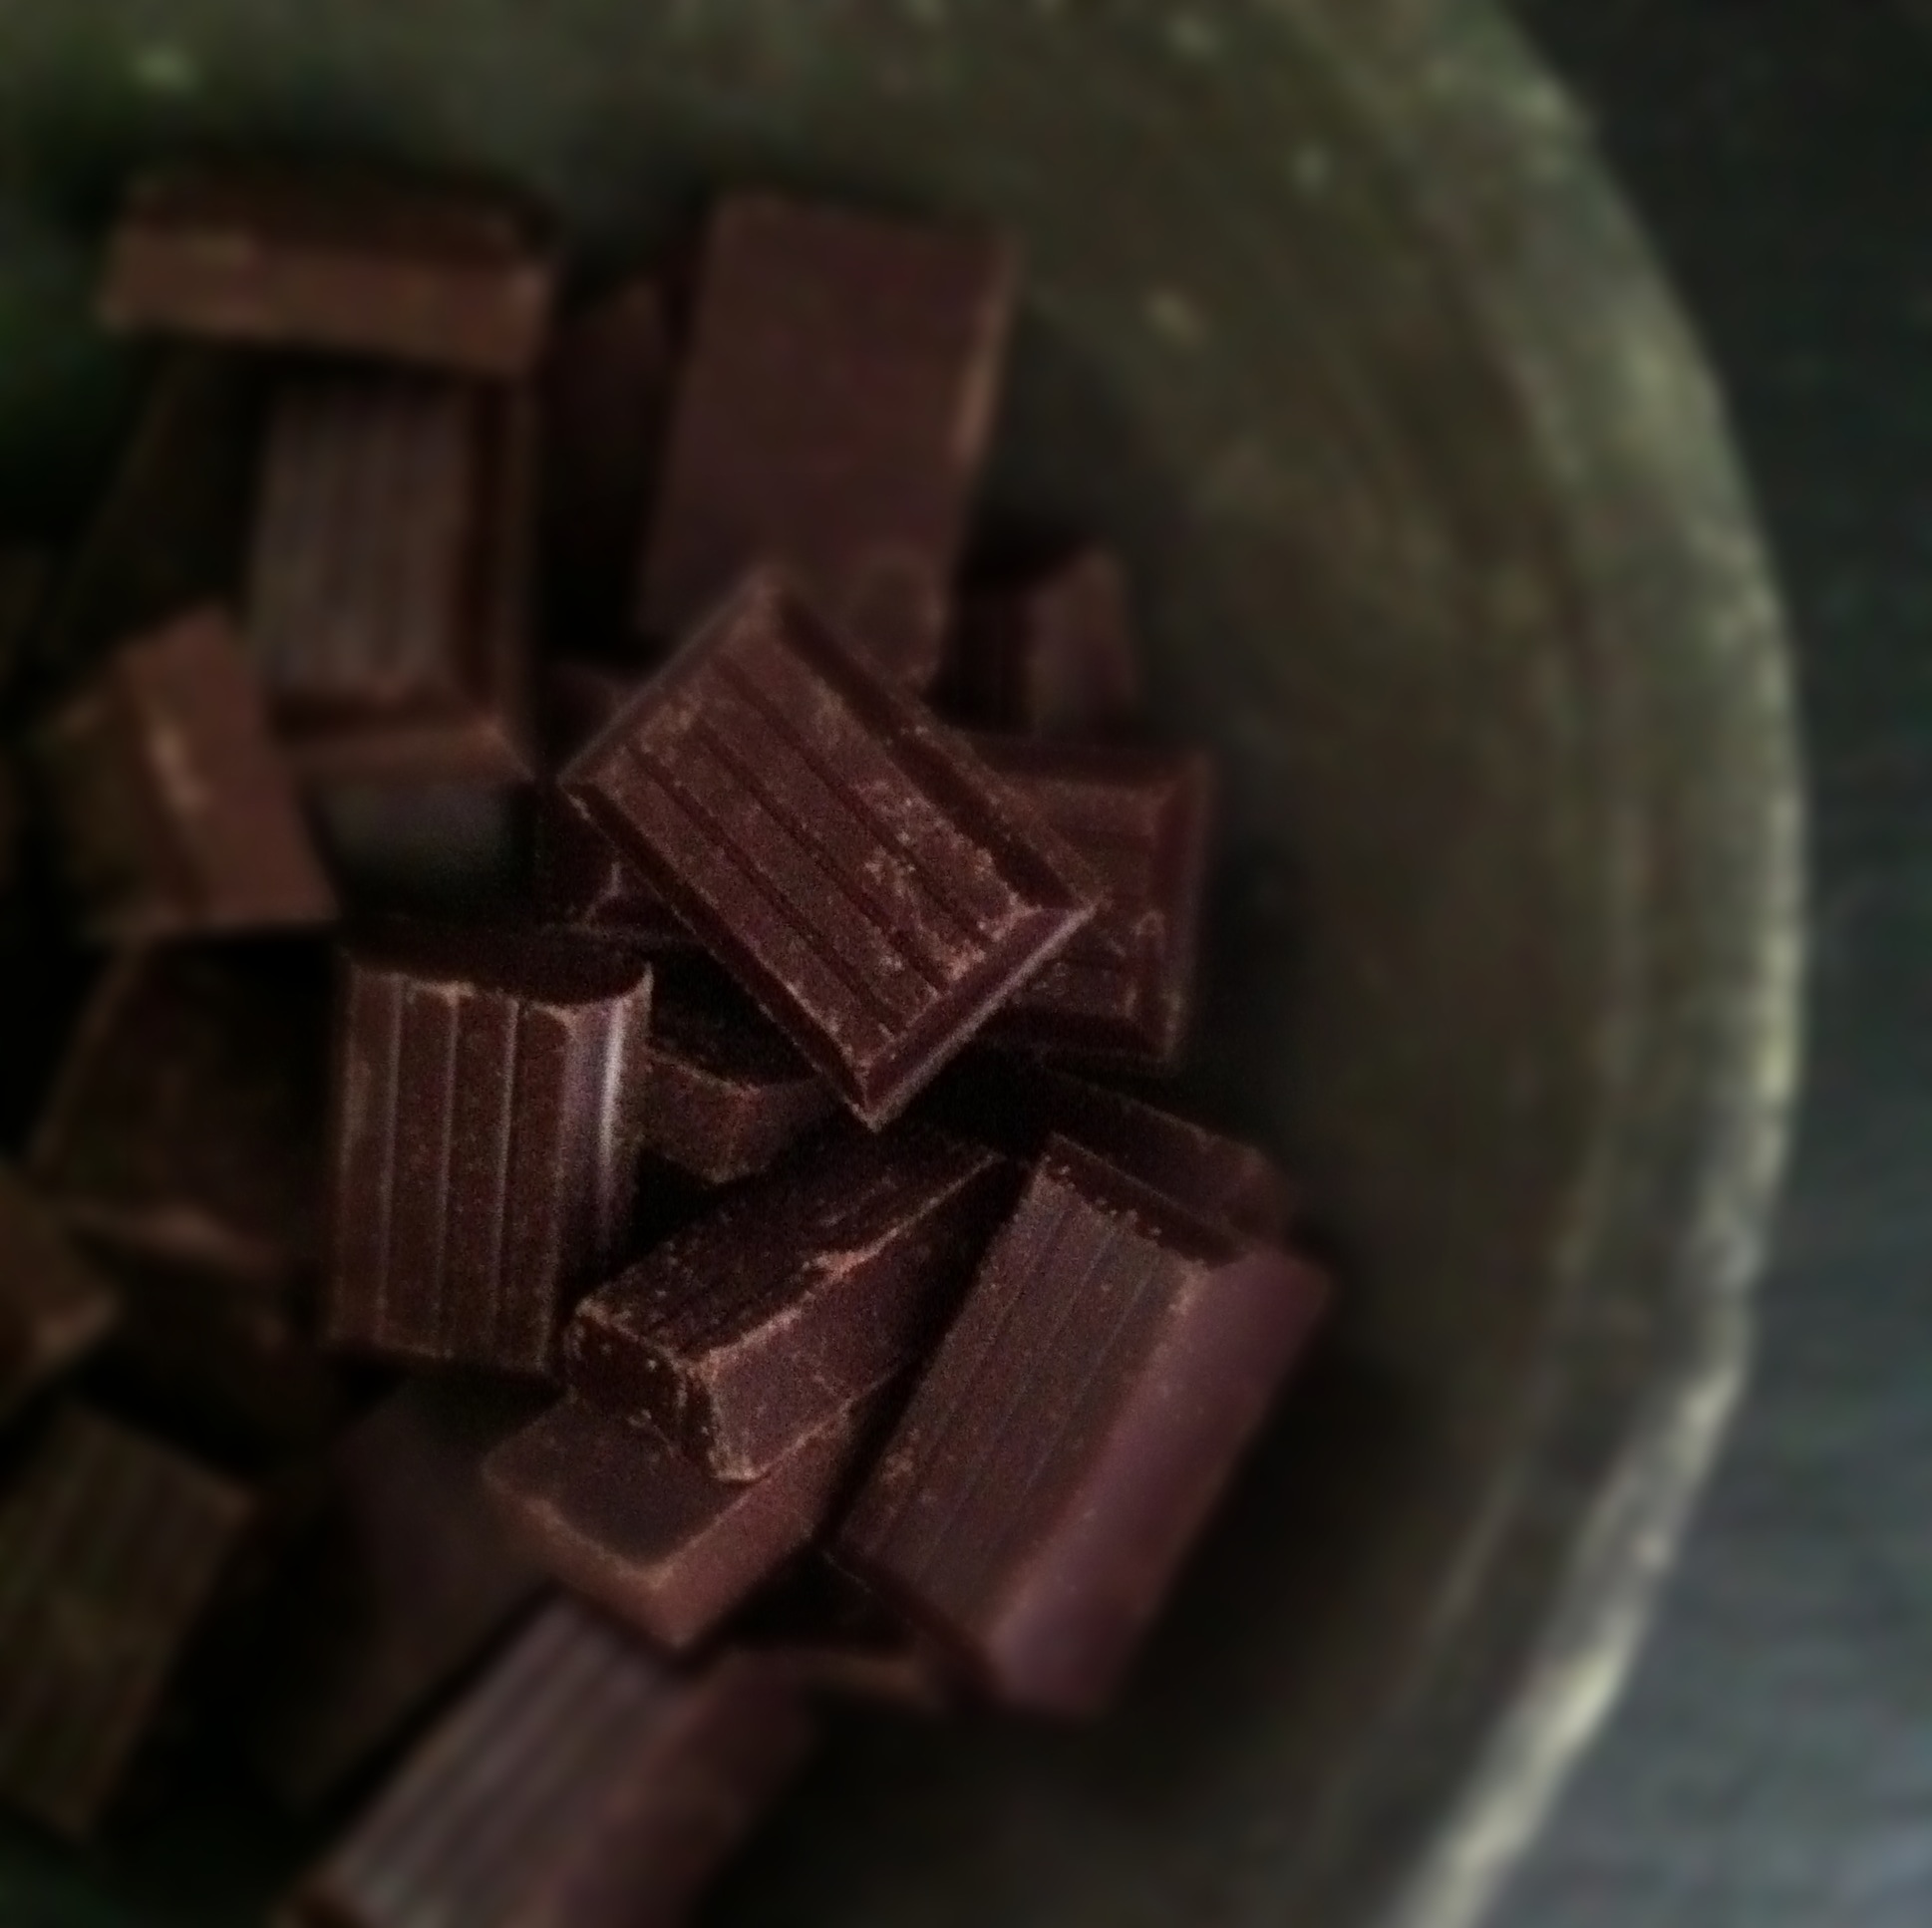
- 8 ounces best quality bittersweet chocolate chopped
- 8 ounces (2 sticks) unsalted butter, each stick cut into four pieces
- 1 cup sugar
- 4 large eggs
- unsweetened cocoa powder
Preheat the oven at 350 degrees. Prepare an 9 inch round cake pan by buttering the pan liberally and by lining the bottom with parchment paper cut to fit. Butter the paper and dust with a mixture of 1 tablespoon flour and 1 tablespoon unsweetened cocoa powder. Set aside.
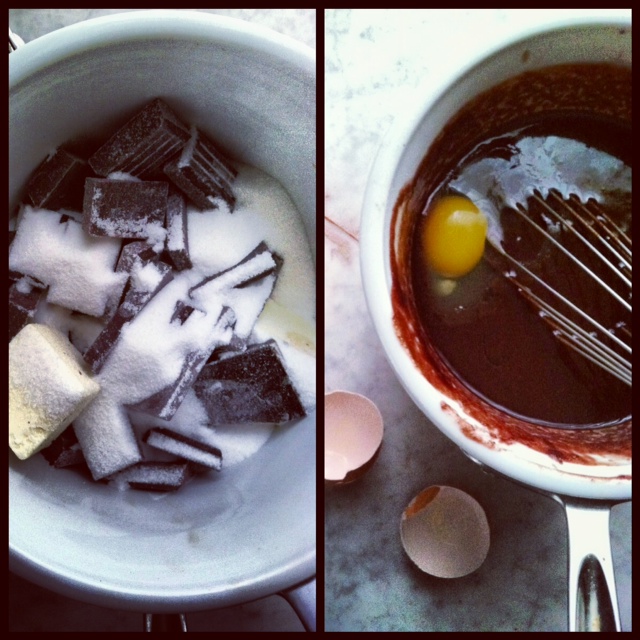
In a double boiler melt the chocolate, butter and sugar together over medium heat. Stir frequently until the chocolate and butter have melted and the mixture is smooth with no trace of grains of sugar Remove the top pan from the double boiler and off heat beat the eggs one at a time with a whisk making sure the mixture stays smooth.
Transfer the chocolate mixture into the prepared pan. Place the pan into a sheet pan/jelly roll pan and place in the oven. Add a couple of inch of hot water to the pan and bake for one hour.
Carefully remove the cake pan from the hot water and let cool completely. Once cool, loosely cover with plastic wrap and put in the fridge for about 3 hours or overnight .
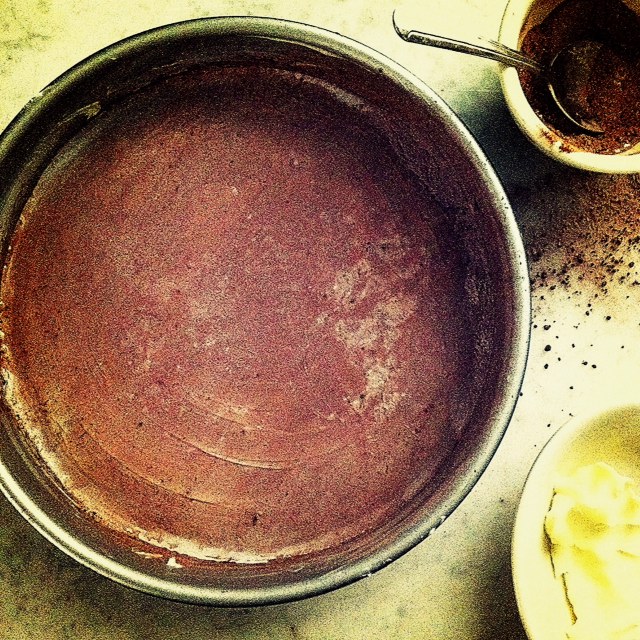
Now, is the hard part: to remove the cake from the pan, run a very thin knife around the pan to release the edges. Run some hot water in the bottom of the sink and let the pan stand in for a bit; not too long as the cake will melt. Cover the pan with a cutting board and turn the pan upside down and bang the pan a few times. The cake will finally come out. The cake will be very thin, about 2 inches. Put back in the fridge without removing the parchment paper until ready to serve.
When ready to serve, peel the paper from the cake. Do not worry if the cake looks messy and wrinkled, that is when the cocoa powder comes handy. Transfer the cake to a serving plate or platter and, with a fine mesh sifter, sprinkle the cocoa powder covering the entire surface of the cake. Let sit 30 to 45 minutes before serving.
Serve with a soft whipped cream sauce
- 1 cup heavy cream
- 3 tablespoon confectioner sugar
- 2 tablespoon rum , you can also use Grand Marnier, Kahlua or Cognac
In a cold bowl and beaters from an electric beater, beat the heavy cream and sugar until it holds its shape. You want more of a “sauce” then whipped cream. Fold in the liqueur of your choice and refrigerate until ready to serve the cake.
NOTE: should you have cake left, you can cut into individual pieces, wrap in plastic wrap and freeze as you would chocolate truffles. Just bring back to room temperature before eating.
Happy Valentine’s Day!
From my kitchen to yours,
CK, la fille du boucher
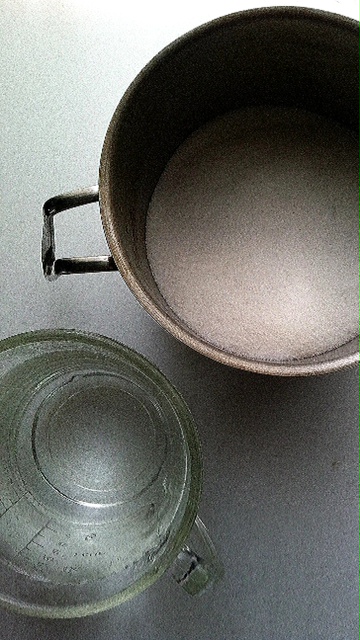
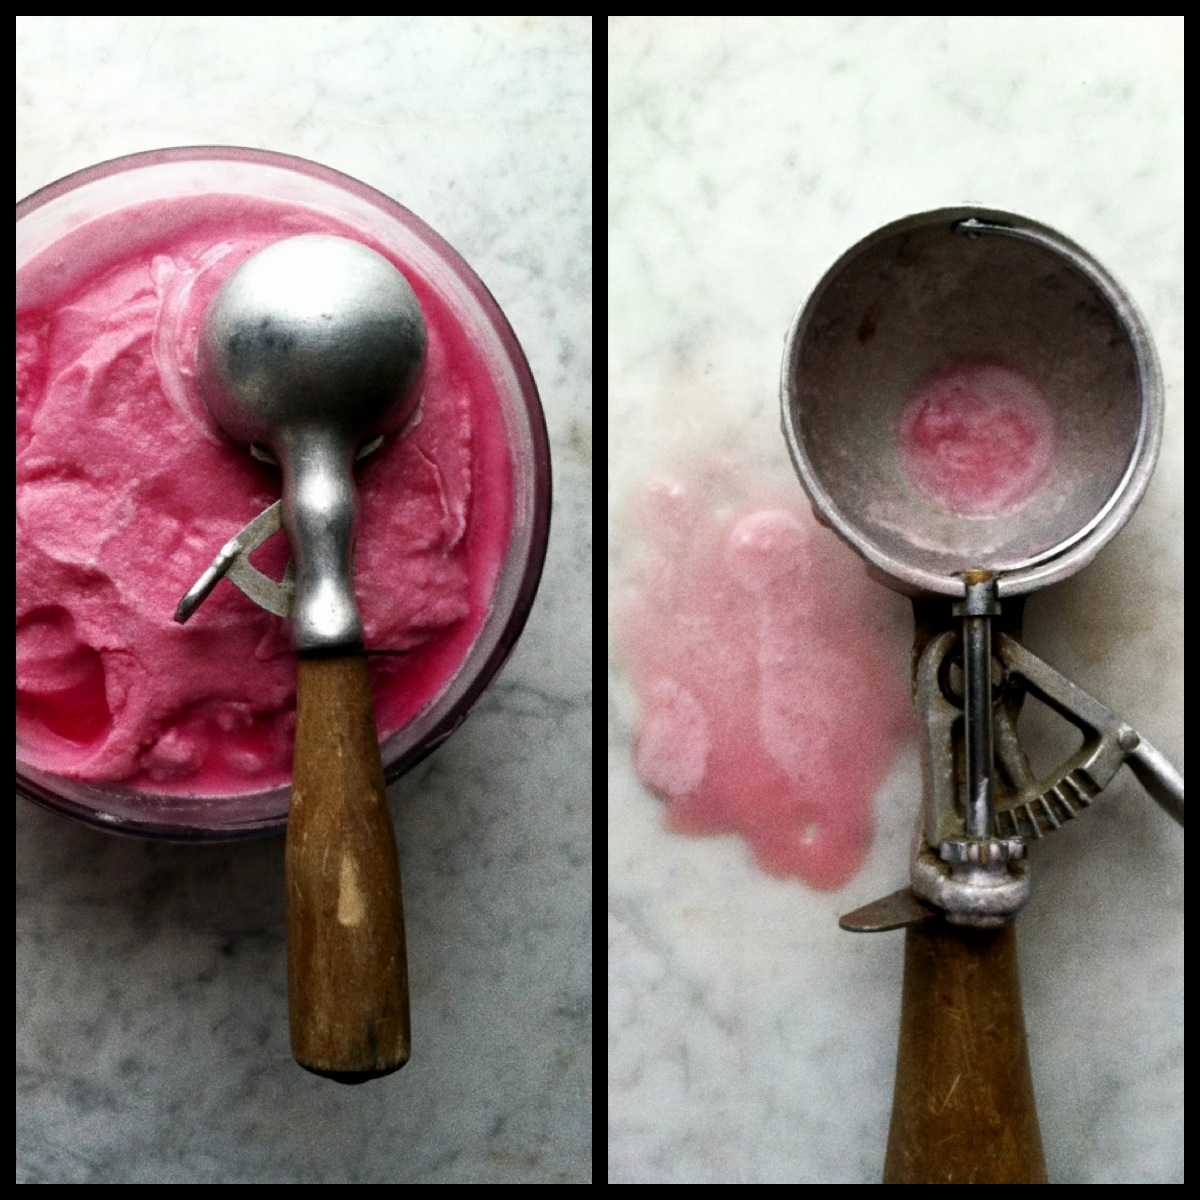
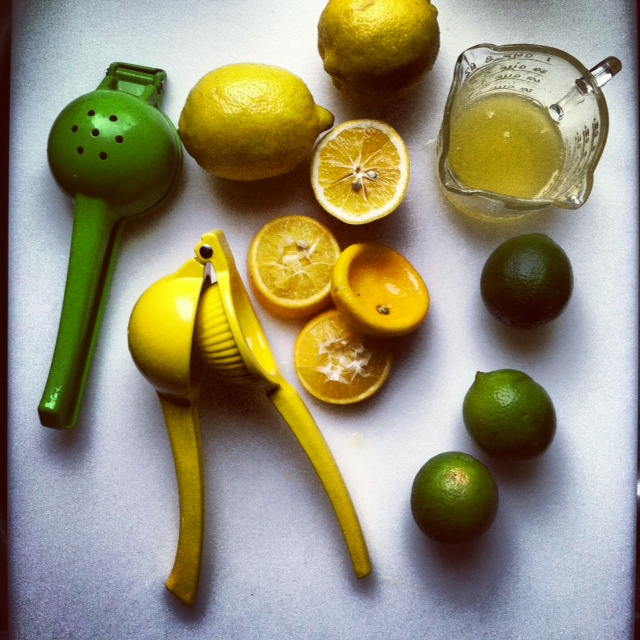
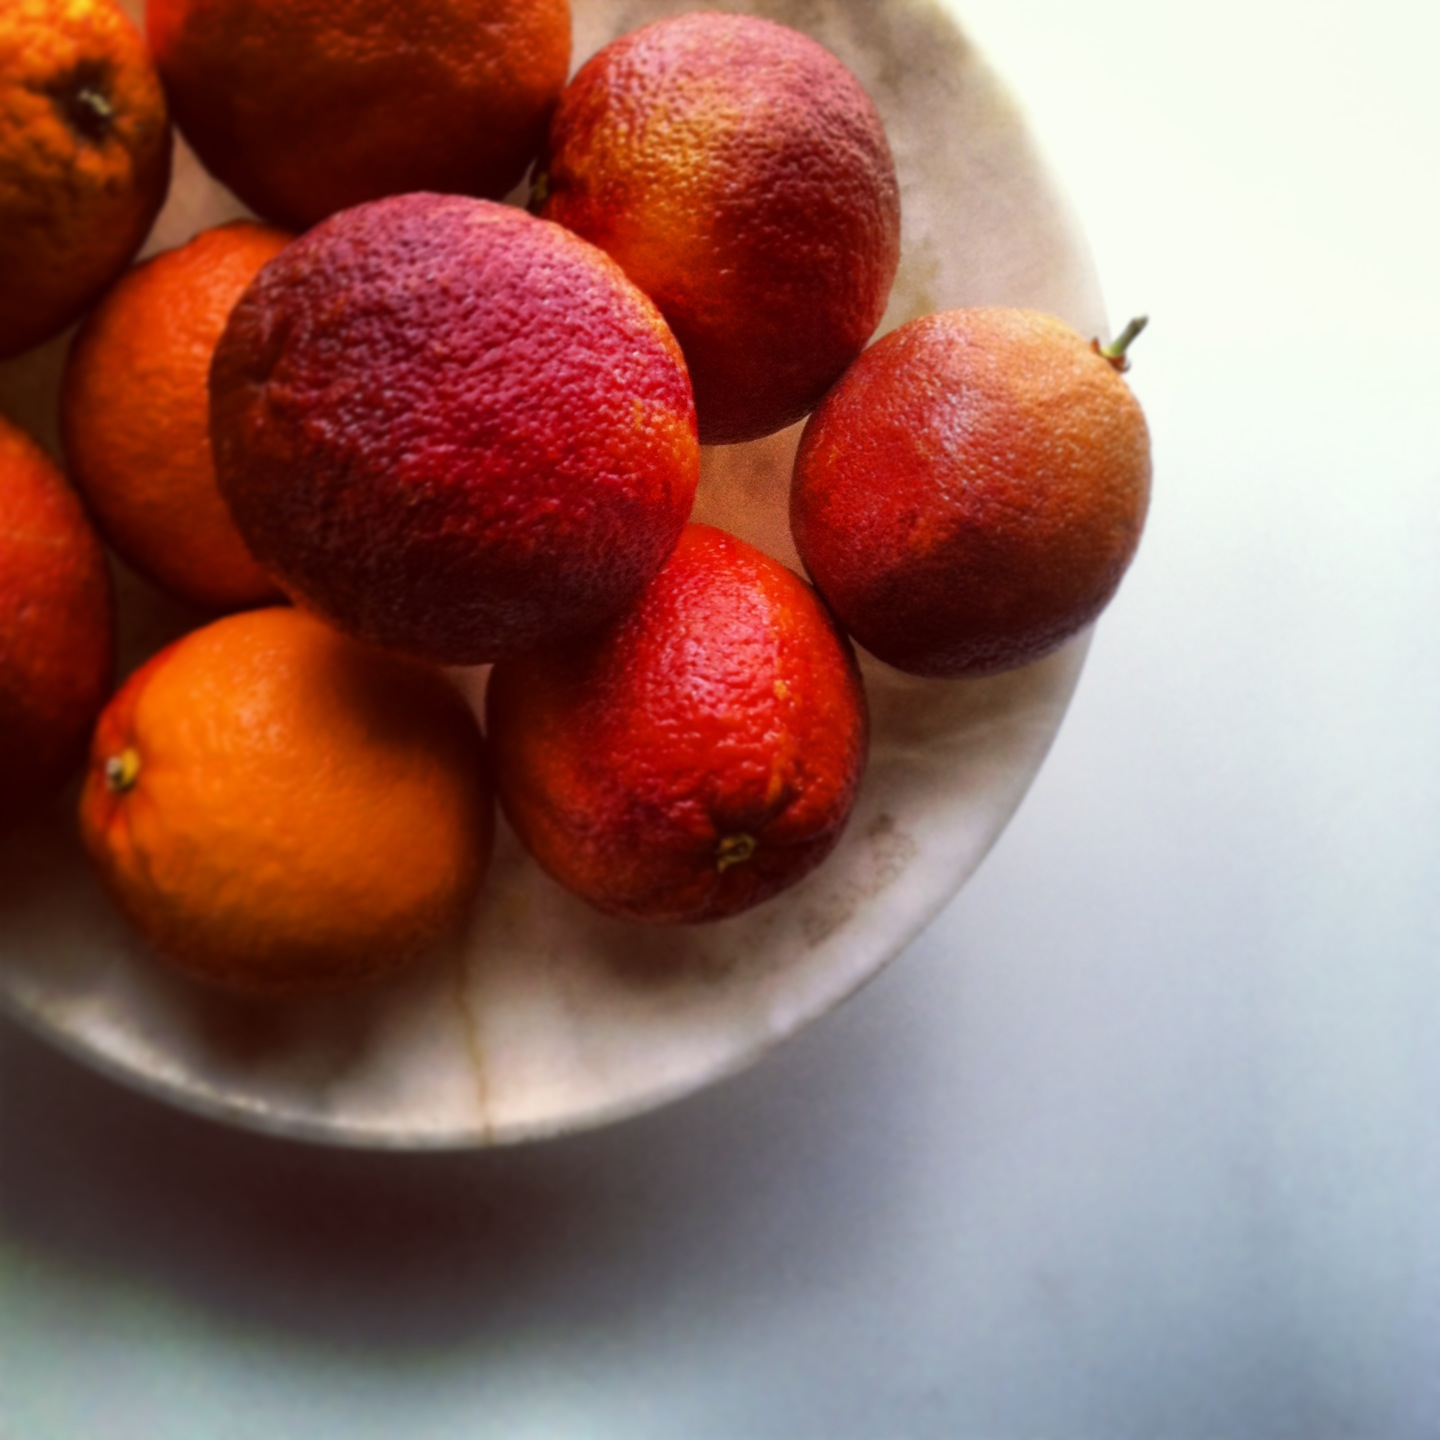 Blood oranges are in season and since it is a short one, I can’t resist buying them. They are wonderful eaten as is, in fruit salads or on a bed of greens. They are not as acidic as regular oranges and their sweet juice makes wonderful cocktails. I love them as a soda : Orangina Rouge and the Sanpellegrino Aranciata Rossa being two of my favorites. Trying them as a sherbet was even better! The dramatic red of the juice turned into a beautiful pink frozen dessert so light and refreshing, the perfect ending to our Sunday meal.


 Three months ago I started this blog and have had a wonderful time sharing recipes and ideas. I would like to wish you all a wonderful New Year and thank all my followers and visitors for the support and feedback. I am looking forward to 2013 and can’t wait to see what the year will bring. Happy New Year! may it be filled with joy, love, good health and wonderful food (of course).